Note: Images are redundant, are visual aids to the tutorial, and do not provide significant information beyond what the text provides. They will not be transcribed unless upon specific request.
The application I will show you below how to create sends out an emergency e-mail upon login if the user responds to a seemingly-benign dialogue box with what’s normally the default option. I use this application on my decoy user account (similar username, uses one of my old passwords) so that if I am coerced into logging into my computer, I can get a message sent out without writing one. Warning: It will be obvious to a viewer that this script is running once you “ignore the update notification”. This does not run in the background. However, it should work quickly enough that you can prevent interference with the email, which would be more difficult to do if you were actually writing the email in real time.
Writing the Script:
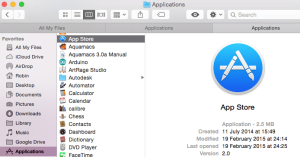
Go to the Utilities folder within your Applications folder and open Automator.
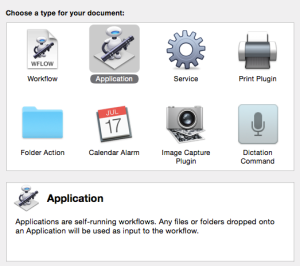
Choose “Application” as your document type.
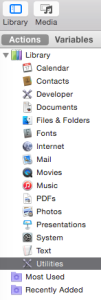
Make sure the Library options are open and select Utilities.
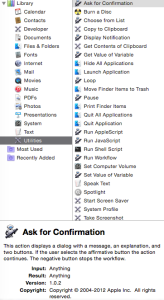
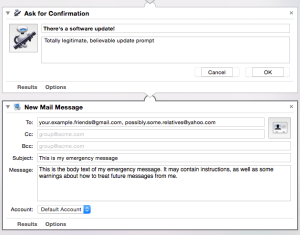
Select “Ask for Confirmation” from the list of actions and drag it into the workflow on your right.
Replace the “cancel” button with something saying “install update”.
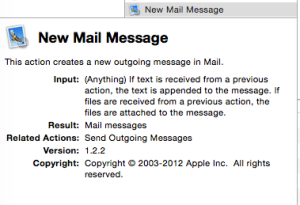
Next, go back to the library and select “Mail”. Drag the “New Mail Message” action into the workflow.
Type a message, and select recipients. Your workflow should now look like this.
When you save your application, call it something benign like “VTN Update Check”.
Setting Your Script to Auto-Run:
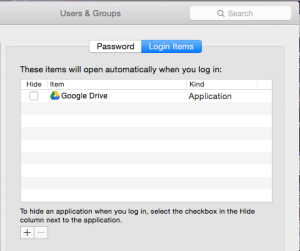
Open System Preferences and go to Users and Groups.
Select Login Items.
Click “+”, add your application, and check the “Hide” box.
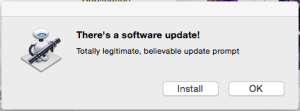
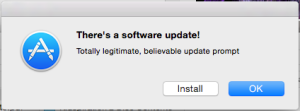
What this should look like when running:
Changing your Application’s Icon (not required):
Find something whose icon you would like to see in place of the robot icon.
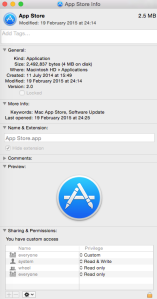
Get Info (⌘ I) on the thing and select the icon.
Copy (⌘ C) the icon.
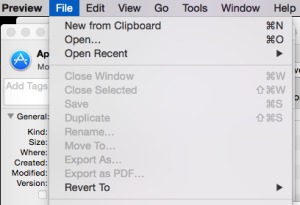
Open Preview and select “New from Clipboard”:
You should see something like this:
Save this file as AutomatorApplet.icns (doesn’t matter where.)
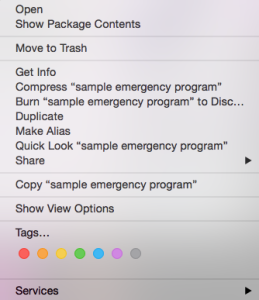
Now, find your application, right-click it, and select “Show Package Contents”:
Open the Resources file and find the image AutomatorApplet.icns.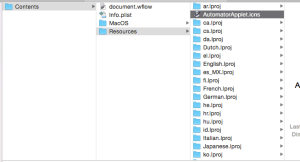
Replace it with your new icon.
When you next run the program, it should look like this:
This is my first tutorial of this kind, so if there are any problems, please alert me in the comments.
